Connecting to Raspberry Pi via the internet is a powerful solution for remote access, enabling users to manage their devices from anywhere in the world. Whether you're a hobbyist or a professional developer, this capability opens up endless possibilities for IoT projects, home automation, and remote server management.
In today's digital age, remote access to devices has become essential. The Raspberry Pi, with its versatility and affordability, is an excellent platform for experimenting with remote connectivity. By learning how to connect to your Raspberry Pi via the internet, you can unlock its full potential and simplify your workflow.
This guide will walk you through the process step-by-step, covering everything from setting up your Raspberry Pi for remote access to troubleshooting common issues. Whether you're a beginner or an experienced user, you'll find valuable insights and practical tips to help you connect to Raspberry Pi via the internet effectively.
Read also:Southboro Medical Group Your Trusted Healthcare Partner In Southboro
Table of Contents
- Introduction to Remote Access
- Raspberry Pi Basics
- Methods to Connect to Raspberry Pi via Internet
- Setting Up SSH
- Port Forwarding Explained
- Using Dynamic DNS
- Remote Access Tools
- Security Best Practices
- Troubleshooting Common Issues
- Conclusion
Introduction to Remote Access
Remote access allows you to control and manage devices from a distance, eliminating the need for physical presence. For Raspberry Pi users, this feature is particularly valuable, as it enables seamless interaction with projects and servers without being tethered to the device.
Why Connect to Raspberry Pi via Internet?
Connecting to Raspberry Pi via the internet offers numerous advantages:
- Access your Raspberry Pi from anywhere in the world.
- Streamline project management and troubleshooting.
- Enable IoT applications and home automation systems.
- Reduce reliance on local networks for device interaction.
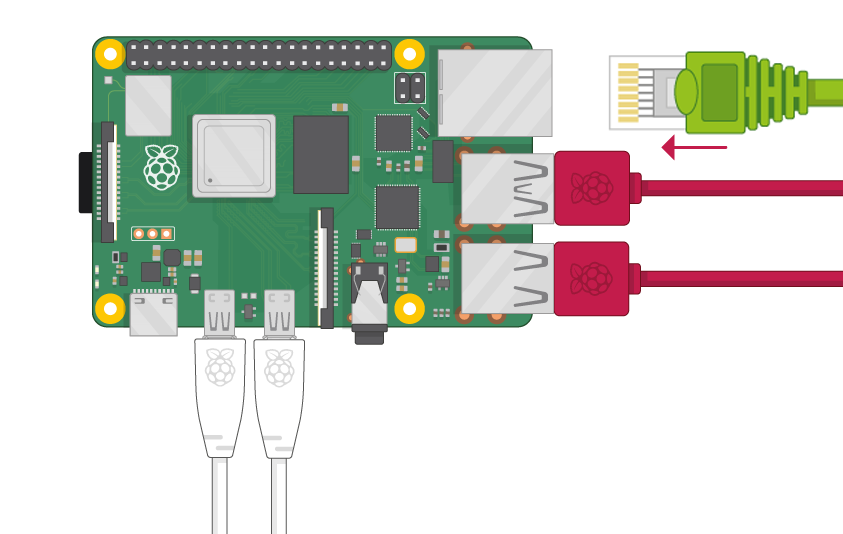
Raspberry Pi Basics
Before diving into the technical aspects of connecting to Raspberry Pi via the internet, it's essential to understand the basics of this versatile device. The Raspberry Pi is a credit-card-sized single-board computer that supports a wide range of applications, from media centers to web servers.
Key Features of Raspberry Pi
- Compact and energy-efficient design.
- Supports multiple operating systems, including Raspbian and Ubuntu.
- Equipped with GPIO pins for hardware interfacing.
- Compatible with a variety of accessories and add-ons.
Methods to Connect to Raspberry Pi via Internet
There are several methods to establish a connection between your Raspberry Pi and the internet. Each method has its own set of advantages and requirements, so it's important to choose the one that best suits your needs.
1. SSH (Secure Shell)
SSH is one of the most popular and secure methods for remote access. It allows you to execute commands on your Raspberry Pi from a remote terminal.
2. VNC (Virtual Network Computing)
VNC provides a graphical interface for remote access, making it ideal for users who prefer a visual approach to managing their devices.
Read also:What Type Of Insurance Does State Farm Offer A Comprehensive Guide
Setting Up SSH
To connect to Raspberry Pi via SSH, you need to enable the SSH service on your device and configure your network settings accordingly.
Steps to Enable SSH
- Boot your Raspberry Pi and open the terminal.
- Type
sudo raspi-configand navigate to "Interfacing Options." - Select "SSH" and choose "Enable."
- Reboot your Raspberry Pi for the changes to take effect.
Port Forwarding Explained
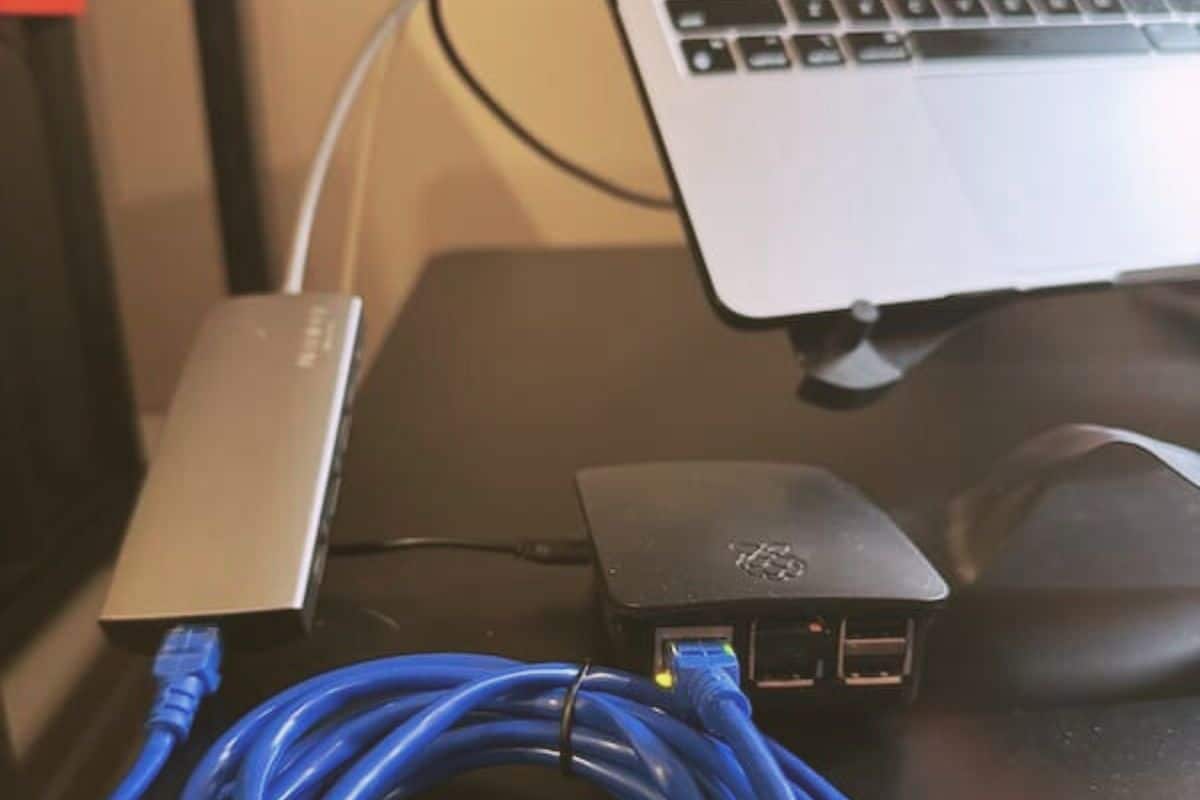
Port forwarding is a crucial step in connecting to Raspberry Pi via the internet. It involves directing incoming traffic from your router to the specific port used by your Raspberry Pi.
How to Set Up Port Forwarding
Follow these steps to configure port forwarding on your router:
- Log in to your router's admin panel.
- Locate the "Port Forwarding" or "Virtual Servers" section.
- Create a new rule, specifying the Raspberry Pi's IP address and the desired port (e.g., 22 for SSH).
- Save the settings and test the connection.
Using Dynamic DNS
Dynamic DNS (DDNS) is a service that maps your changing IP address to a static domain name, ensuring consistent access to your Raspberry Pi.
Benefits of DDNS
- Eliminates the need to remember your public IP address.
- Facilitates easier access to your Raspberry Pi from remote locations.
- Compatible with most routers and DDNS providers.
Remote Access Tools
Several tools can enhance your remote access experience with Raspberry Pi. These tools provide additional functionality and security features to streamline your workflow.
Popular Remote Access Tools
- ngrok: A tunneling tool that exposes local servers to the internet.
- TeamViewer: A user-friendly solution for remote desktop access.
- Putty: A lightweight SSH client for Windows users.
Security Best Practices
Security is paramount when connecting to Raspberry Pi via the internet. Implementing best practices can help protect your device from unauthorized access and potential threats.
Tips for Securing Your Raspberry Pi
- Change the default SSH port to a non-standard value.
- Use strong passwords and consider enabling two-factor authentication.
- Regularly update your Raspberry Pi's software and firmware.
- Limit access to trusted IP addresses using firewall rules.
Troubleshooting Common Issues
Even with proper setup, issues may arise when connecting to Raspberry Pi via the internet. Here are some common problems and their solutions:
Problem: Unable to Connect via SSH
Solution: Verify that SSH is enabled on your Raspberry Pi and ensure that the correct IP address and port are being used. Check your router's firewall settings to confirm that port forwarding is correctly configured.
Problem: DDNS Not Updating
Solution: Ensure that your DDNS client is installed and running on your Raspberry Pi. Restart the service if necessary and verify that your router supports DDNS updates.
Conclusion
Connecting to Raspberry Pi via the internet is a powerful capability that can significantly enhance your productivity and project management. By following the steps outlined in this guide, you can set up a secure and reliable connection to your Raspberry Pi from anywhere in the world.
We encourage you to share your experiences and tips in the comments section below. For more information on Raspberry Pi and remote access, explore our other articles or visit trusted sources such as the Raspberry Pi Documentation and Debian Official Website.
Stay connected and keep experimenting with your Raspberry Pi projects!